CSS Selectors
CSS Selectors allow us to target and style specific elements of our webpage.
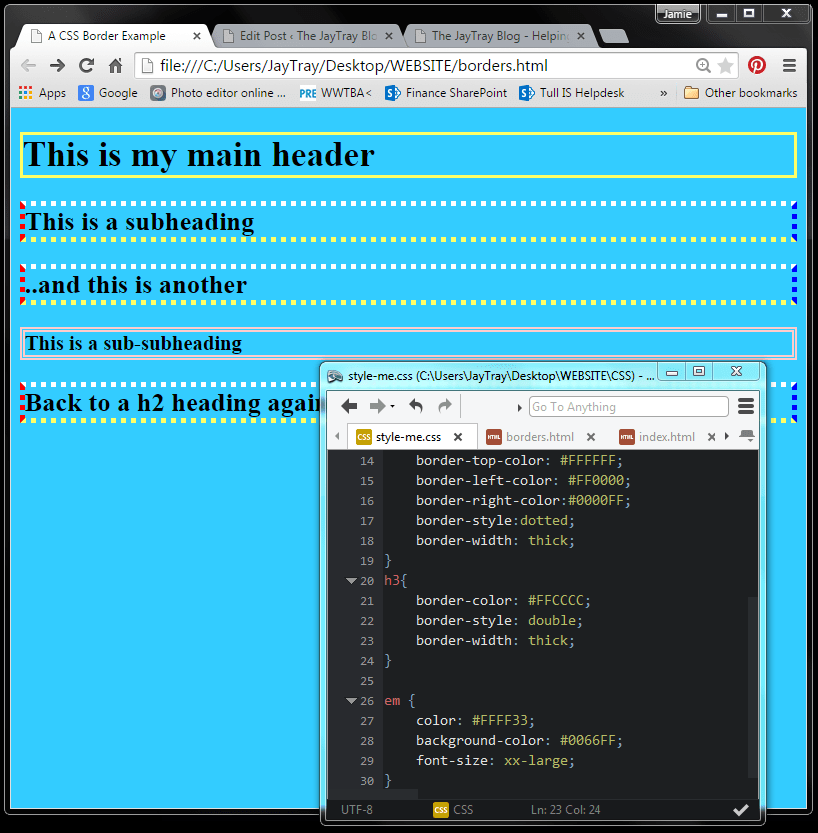
In the last post, we applied borders and fonts to different headers in our page.
The different level headers (h1, h2, h3) are different elements of the page. In the CSS file, we use CSS selectors to select and style those elements. There are different types of CSS selectors and we will go through some of them and how to use them to your advantage.
This post is part of a series of posts. If you have not been following the posts, you can read through them by clicking the links below. If you do not want to follow the series, you can treat this post as a standalone post, but I have to assume that you know the basics of CSS and HTML5 already.
CSS Selectors
Type Selectors
Type Selectors select elements by their type.
h1{} selects all h1 elements and the properties and values contained within the curly braces styles the h1 elements.
- The HTML5 file below has been saved as “selectors.html”
- Line 5: The title of the file is “CSS Selectors”
- Lines 6-8: The file is linking to a CSS file called “style-me.css” which is in the CSS folder
- Lines 12-29: Make up the body of our file. There are 2 h1 elements, 2 paragraph elements and 2 unordered lists.
For the a href files, I have put a # instead of a link. I do this quite often when designing pages at first. This is like a placeholder, it sets the list item as if it had a link, but the link goes nowhere. I put the actual link in later when finalising the site.
If you choose to do this too, make sure you remember to put in the link addresses!
Now we will set up CSS with type selectors.
These selectors will style all elements based on the element type.
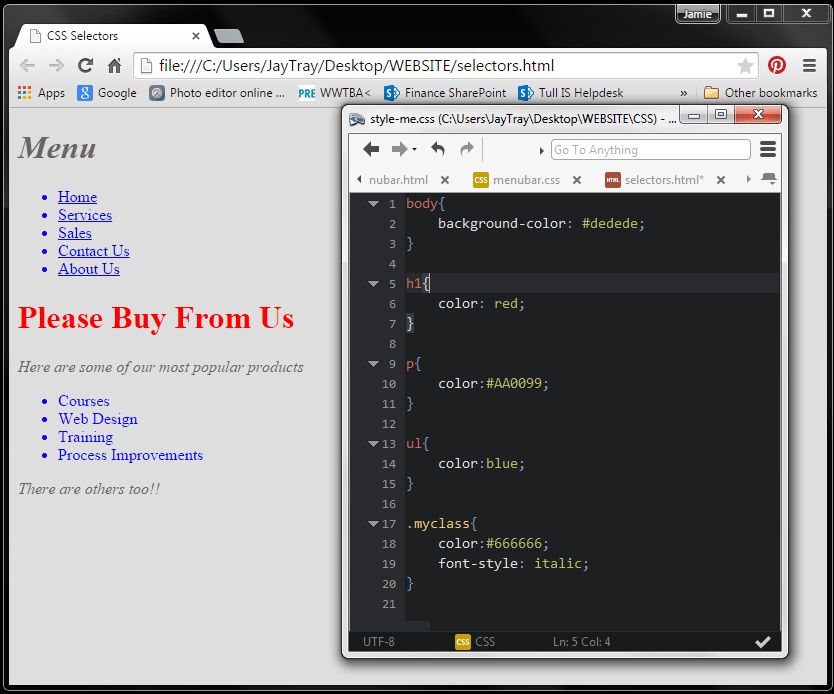
I have set different colors for the h1, p and ul elements.
As you can see below, the same styling has been applied to all of each type of elements (the 2 h1’s are the same, the 2 p’s are the same and the 2 ul’s are the same).
When you apply CSS selectors by type, they apply to all elements of that type, unless a more specific styling applies.
Class Selectors
Where type selectors apply a style to all elements of that type, class selectors are more specific and apply styling to all elements of the specified class.
In the HTML file, I have amended lines 12, 22 and 29. I have added class = “myclass” to some of the tags. This now allows us to style these elements the same by using a class selector.
In the CSS file, I’ve added a class selector for “myclass”.
To do this, precede the class selector name with a period, so in line 17 of the CSS file, I have started with “.mycass{” and entered a style.
You can see that the more specific class selector is applied to all elements with a class of “myclass”, this has been applied to both p elements and also the first h1.
The class selector overwrote the more general type selectors for h1 and p. This would apply to all type selectors, the more specific class selector overwrites them for the elements with the class.
Note that all the styling of the myclass class is not the same. The h1 elements are bigger than the p elements. If I wanted the font size to be the same for all elements with a class of myclass, then I would have to set this inside .myclass styling – otherwise, the type selector styling applies. If no specific styling has been applied to the type selector, then the default styling applies.
ID Selectors
Even more specific than class selectors are ID selectors. These target only one element at a time are each ID selector is used only once per page.
In the HTML code at line 13 I have assigned an id of “navmenu” to the first unordered list. Note in line 12 I have taken the class off the h1 header.
In CSS, we targeted classes by putting a period before the class name. For ID selectors, we put a # before the ID name. We also need to include the element name and sub-elements (see ul/a and ul/li below).
- Line 22 I have set some styling for the ul element.
- Line 27 I have used the same ID element and applied styling to the a element of the unordered list
- Line 35 I have used the same ID element and applied styling to the li elements of the unordered list.
In later posts, we will use the id selector to make this section look more like a navigation menu. We will use div and containers so that the navigation menu is on the left of our page and the rest of the text is beside it to the right, rather than below it as it is now, and we will also look at padding and margins.
Then after that, we will animate the navigation menu so that the options change as we hover the mouse over them. Then our bits of code start to look like a proper website.


