Basics of HTML Images
Without images and other media, websites can be as boring as phone books (remember those?).
In this post I will show you how to add images to your HTML pages. The code for HTML images is relatively straightforward.
If you have been following this series of posts, this is the 4th post in the series. If you have not been following the series, you can read back on the previous posts be clicking the links below:
Or, alternatively, you do not have to follow the series and can take this post as a standalone post, as long as already have the basics of HTML5 covered.
HTML Images
Let’s start with a blank HTML5 page and call it “image.html”, Save this in your Website parent folder.
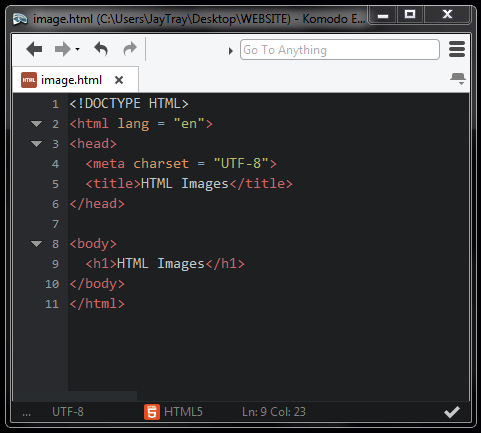
I have set the title to “HTML Images” and within the body I have a h1 heading that also says “HTML Images”.
The image I will use in this demonstration is an image of my eBook.

The Elements of HTML Images
You can add images to your page using the <img> tag. This tag uses the following attributes:
- src : The source attribute lets you enter the address/location and name of the image. You can link to images on other websites, but I wouldn’t generally recommend that because you have no guarantee that the owner of the other site will leave the images there, or will not change the location of them.
- height & width : These are obvious properties, but important nonetheless because they tell the browser how much space is needed for the image. You enter the height and width data of your images here. It is possible to use the attribute to actually change the size of the image when displayed, but this doesn’t always give the desired result. I would recommend using an image editor to do this instead.
- alt : Alternative text is not a requirement but it is useful. If the user has images turned off, or uses screen-readers (for example, visually impaired people) then they will receive the information contained within the alt tag.
All properties are contained within quotes (“).
Getting and Changing Height & Width
If you don’t have access to expensive image editing software like Photoshop, don’t worry, there are free alternatives out there.
When it comes to getting and changing image properties, I use pixlr.com which lets you upload and edit images free.
I uploaded my eBOOK image and when I selected the option to edit properties, I could see that my image was 315 x 502 (hxw). I can also see this from browsing to my folder (Windows) and clicking on the image, some of the image properties are displayed.
Image Name & Location
When we set up our website parent folder, we set up a folder called images within that folder.
My image is called “eBOOK.png” and is saved in the images folder.
Our source attribute will point to the images folder and then the eBOOK file.
HTML Images

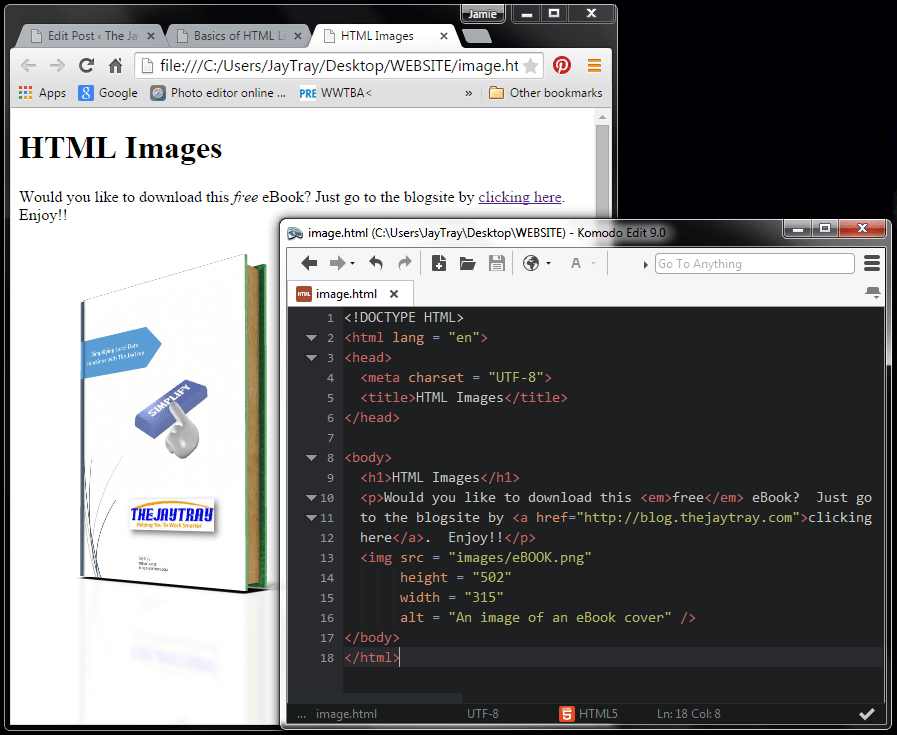
The above image shows the webpage with our “HTML Images” header and the image of the eBook.
It also includes the code to display the image with the src, height, width and alt attributes.
Note that the <img> tag doesn’t have the closing </img> tag that you might be expecting. Instead it is closed with “/>”.
All this code can be written across one line, but I personally find it easier to read when it is broken down across multiple lines, this is just my preference.
Adding More To Our HTML Images
On this page, let’s add some text and a link to my page.
You should be already able to do this, but I’ll add a paragraph and a link above the image.
I have added lines 10 to 12 to the code.
Notice that on the webpage the word “free” has been emphasized in italics, I did this by surrounding it by the <em> and </em> emphasis tags. This is how the emphasis looks by default. Later we will change how the emphasis looks when we change CSS.
The words “clicking here” are also a hyperlink to the blog-site.
Adding Links To HTML Images
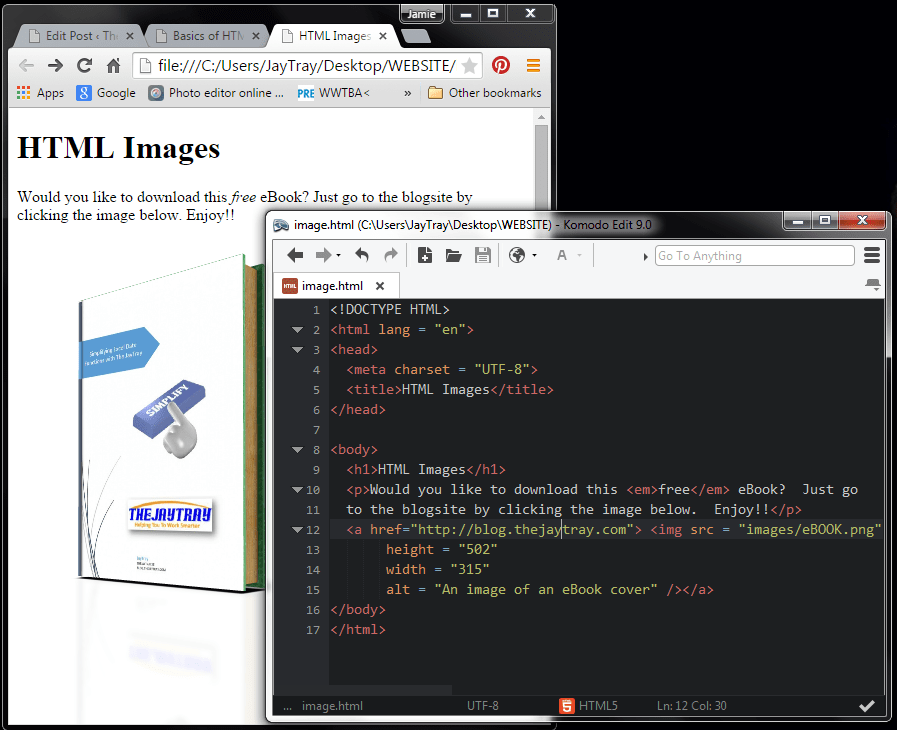
You can also add a link to your image so that a user can click on the image and then go to another page or site.
To do this
- Start your link as normal with the a href attribute and then “>”
- Instead of having text that the user would click on, insert your image as we have done already.
- After closing the image tag, then use the closing anchor tag </a> to close the anchor.
Effectively, you have an image tag contained within the anchor tag.
See lines 12 to 15 below.
Next…
Ok, you’ve waited long enough and I think we’ve covered enough of the basics. Next time we will actually start improving the look and layout of our site.
[grwebform url=”http://app.getresponse.com/view_webform.js?wid=4307503&u=CucD” css=”on”/]
