Excel VBA : Finishing Our File – Comments, Borders & Column Width
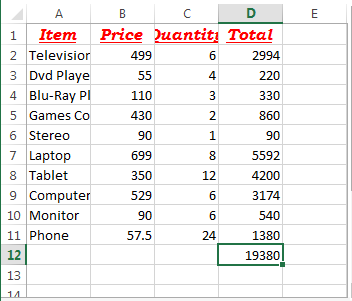
If you have been following the series of posts so far, you should have a file like the above. A macro has changed the text in the headers, changed the format of the header row, added a formula in column D and a total at the bottom of column D using variables.
This series started from here. If you are familiar with the basics of VBA you do not need to read them, if you are not familiar, I would suggest going through the series first.
You can download the file as it is from here : Macros_Example_E
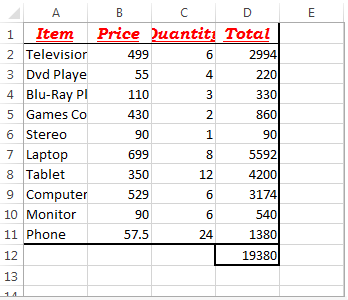
Here we will add borders to the above table, make the columns wider and add comments to our code.
Border
To add borders, you must select the cells the border will apply to and then set the border style.
We will
- Add a thin line underneath cells A1 to D1.
- Add a thick border around cells A1 to the bottom row of the main table, column D
- Add a thick border around the total cell in column D.
To add our first border, we must select cells A1 to D1. You can hard code these cells, use the Ctrl+Arrow shortcuts, or add and use variables. As you will find with VBA, a lot of the time there are several ways to do the same thing.
We will hard code the cell range
- Range(“A1:D1”).Select
- With Selection.Borders(xlEdgeBottom)
- .LineStyle = xlContinuous
- .Weight = xlThin
- End With
Our second border will be a thicker one and will go around the outside of the main table area. We have a macro already to get the last row number (lastRow) and we will use this to wrap the border around our main table and this will change to take account of the number of rows each time.
We will set a left, right, top and bottom border with a “medium” weight.
- Range((“A1:D”) & lastRow).Select
- With Selection.Borders(xlEdgeBottom)
- .LineStyle = xlContinuous
- .Weight = xlMedium
- End With
- With Selection.Borders(xlEdgeTop)
- .LineStyle = xlContinuous
- .Weight = xlMedium
- End With
- With Selection.Borders(xlEdgeRight)
- .LineStyle = xlContinuous
- .Weight = xlMedium
- End With
- With Selection.Borders(xlEdgeLeft)
- .LineStyle = xlContinuous
- .Weight = xlMedium
- End With
Our third border will go around the total value at the bottom of column D. We already have a variable in our file that stores the row number of this cell. We will select this cell and apply a medium border on the top, left, bottom and right edges, as above.
- Range((“D”) & lastRowTotal).Select
- With Selection.Borders(xlEdgeBottom)
- .LineStyle = xlContinuous
- .Weight = xlMedium
- End With
- With Selection.Borders(xlEdgeTop)
- .LineStyle = xlContinuous
- .Weight = xlMedium
- End With
- With Selection.Borders(xlEdgeRight)
- .LineStyle = xlContinuous
- .Weight = xlMedium
- End With
- With Selection.Borders(xlEdgeLeft)
- .LineStyle = xlContinuous
- .Weight = xlMedium
- End With
Number Format
Let’s change the number format of columns B and D to “comma”. This format applies two decimal places and also the thousand separator (a comma).
We will select the two commas and change the style to comma
- Range(“B:B, D:D”).Select
- Selection.Style = “Comma”

If you wanted to apply other number formats, the quickest way to get the style details is to record another macro where you set the format to what you want, stop the macro and look at the code generated.
Column Width
One of the last changes we will make to this file will be to widen the columns, we can set a column width or automatically make them wide enough, here we will do the latter.
We will select all cells and then make the change.
- Cells.Select
- Cells.EntireColumn.AutoFit

Comments
Have you tried reading back through your code? mySecondMacro Code
Do you remember what you did at the start of the macro?
You will be forgiven if you don’t remember!
It can be even more confusing if you are reading somebody else’s code!
This is where comments come into it play. As you write your macro (or record your macro) it is good practice to comment your macro. The comments should make sense and be enough to explain what is happening, but at the same time try to avoid writing a novel.
To make a line of text a comment, start it with a single apostrophe, the program then ignores these lines when running the code.
The green font below is an example of comments – remember the program ignores any of these lines, so make use of comments to make life easier in 6 months time when you need to change your code but can’t remember what you were doing!

Experiment
Have fun with experimenting with what you have seen so far.
Quite a lot has been covered over the last number of posts, but if you comment well and break down the code to blocks of tasks, you shouldn’t have any major problems.
There will be more posts with more tips on Excel VBA macros to come, but you should have enough now to work on your own, research other tips/tricks if you need to, and keep coding!
[grwebform url=”http://app.getresponse.com/view_webform.js?wid=2766903&u=CucD” css=”on”/]
